Build of Hull 52
Moderator: Moderator
-
julie
- Regular Contributor
- Posts: 87
- Joined: Fri Mar 30, 2012 8:49 pm
- Location: Seattle, WA
- Contact:
Re: Build of Hull 52
Those doors are fantastic- that is an incredible fit. And for $10!? They look better than my plastic doors, too.
-
Peter E
- Major Contributor
- Posts: 375
- Joined: Fri Jun 24, 2011 1:17 pm
- Location: USA Midwest Wis.
Re: Build of Hull 52
A lot of water has flowed down the Wisconsin river since I last posted on my build last fall. The ice and snow have come and gone. I have been working on the SCAMP along with a lot of other projects to numerous to mention. I will try to pick up where I left off. Again any questions are welcome.
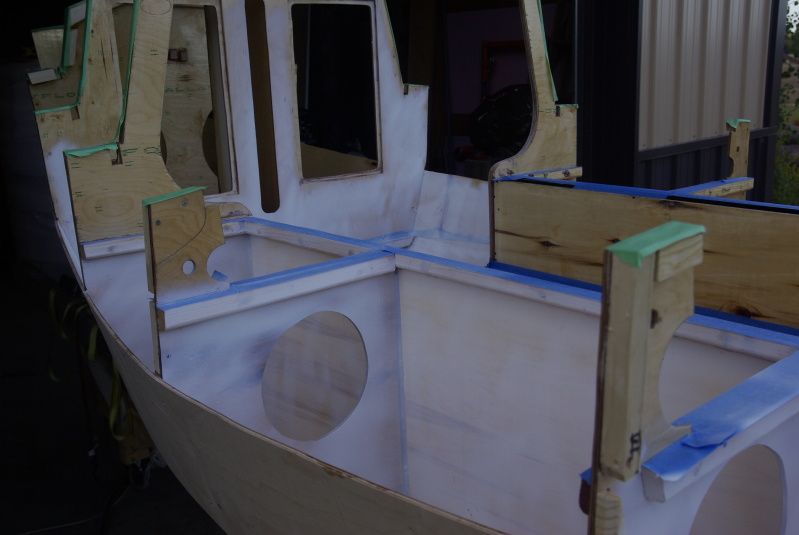
The bulkheads and seat longitudinals were all dry fitted before any epoxy fillets were made. Any adjustments are easier made then. I taped where the fillets would be. This made for easier clean up and a lot less sanding. I also pulled the tape off before the epoxy had gotten rock hard. I used a glove wet with alcohol to smooth any ridges or bumps. In the picture you can see the can
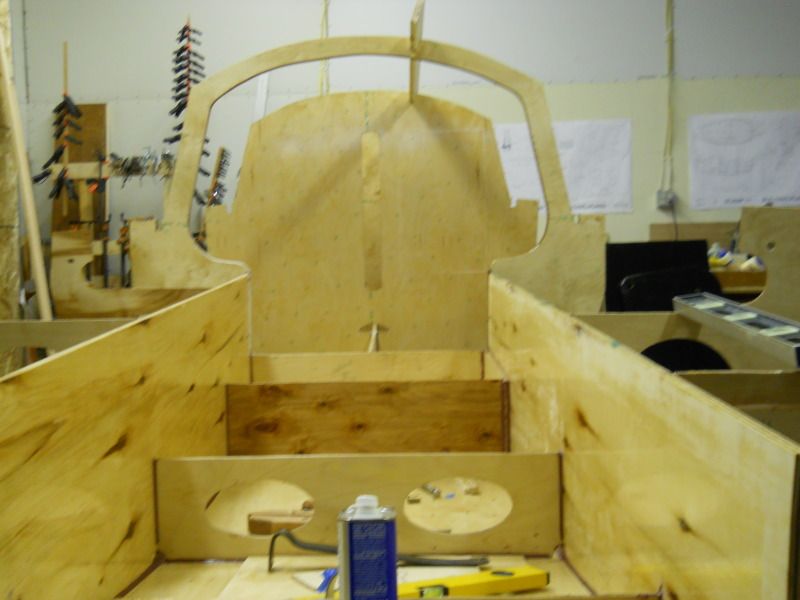
The bulkheads and seat longitudinals were all dry fitted before any epoxy fillets were made. Any adjustments are easier made then. I taped where the fillets would be. This made for easier clean up and a lot less sanding. I also pulled the tape off before the epoxy had gotten rock hard. I used a glove wet with alcohol to smooth any ridges or bumps. In the picture you can see the can

-
Peter E
- Major Contributor
- Posts: 375
- Joined: Fri Jun 24, 2011 1:17 pm
- Location: USA Midwest Wis.
Re: Build of Hull 52
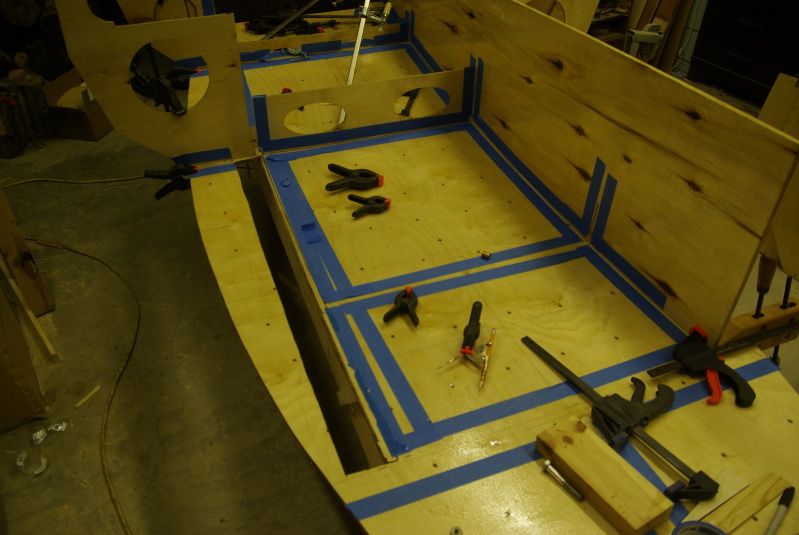
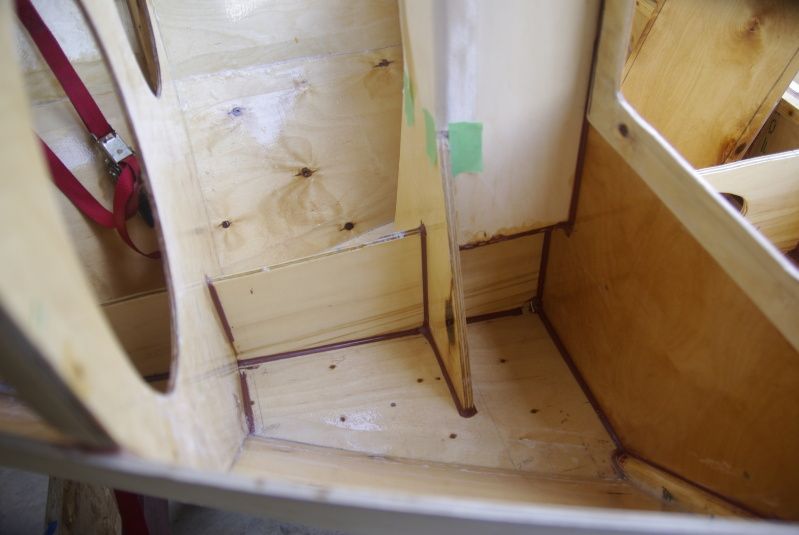
This is some of the taping before filleting.
The place were where nothing beats a wet finger is in the corners.
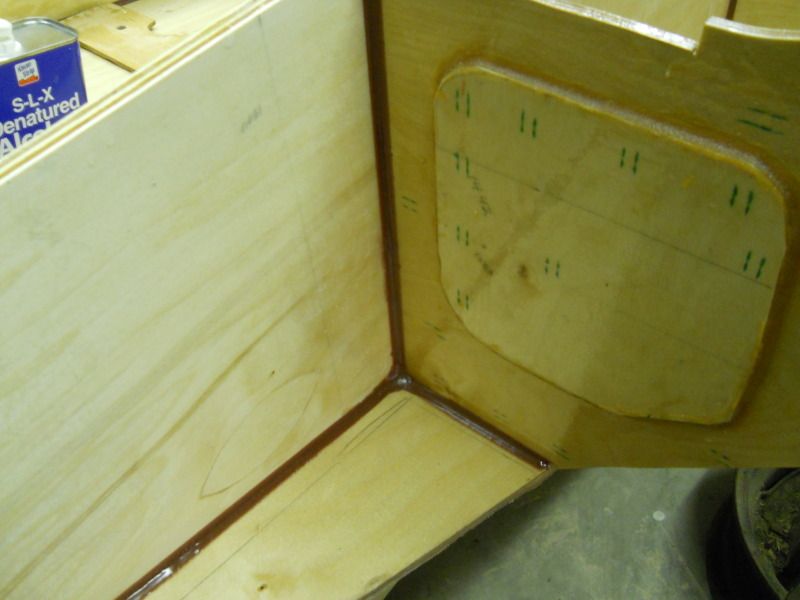

The place were where nothing beats a wet finger is in the corners.

-
Peter E
- Major Contributor
- Posts: 375
- Joined: Fri Jun 24, 2011 1:17 pm
- Location: USA Midwest Wis.
Re: Build of Hull 52
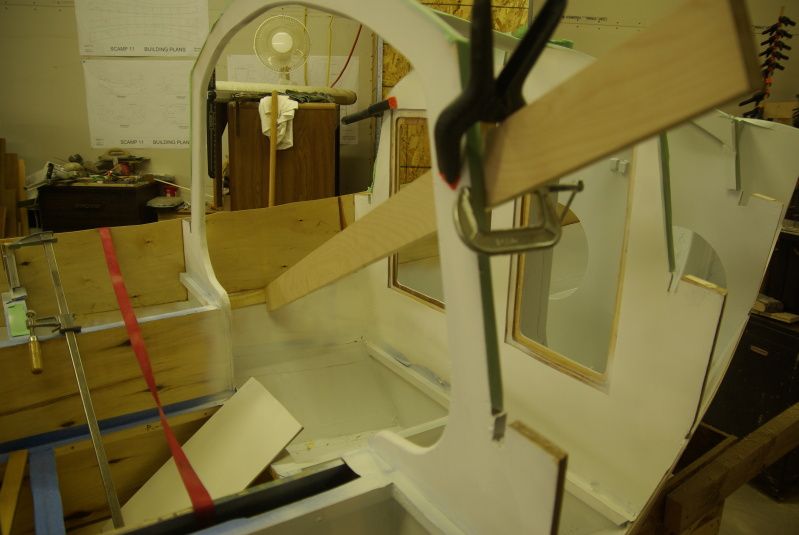
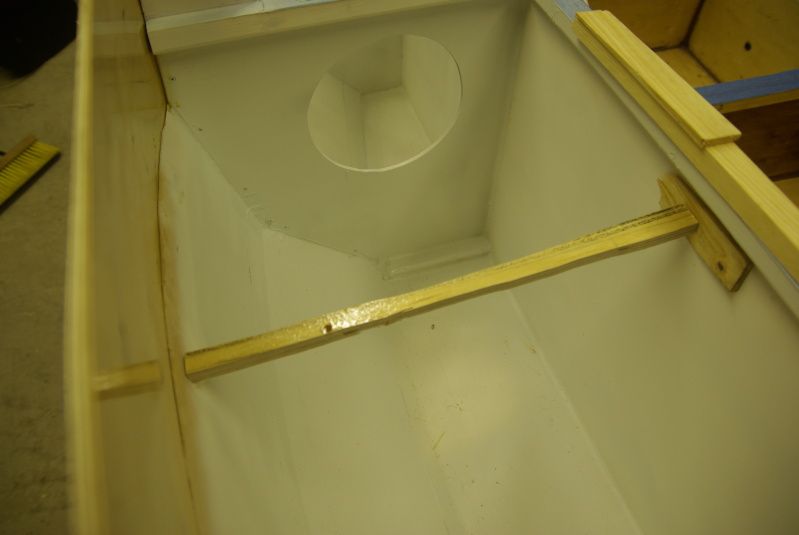
Taping inside the mast trunk. I dry fitted the mast trunk first then figured out how to fillet it. I found it was easier to leave off the back and fillet it then put the back on and fillet though the slot in the front.
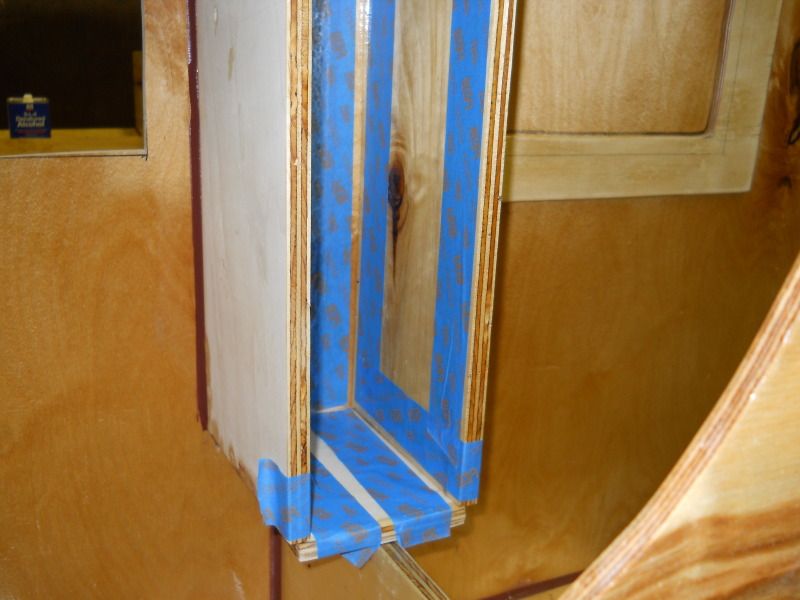
This is holding it in place while I fillet the inside.
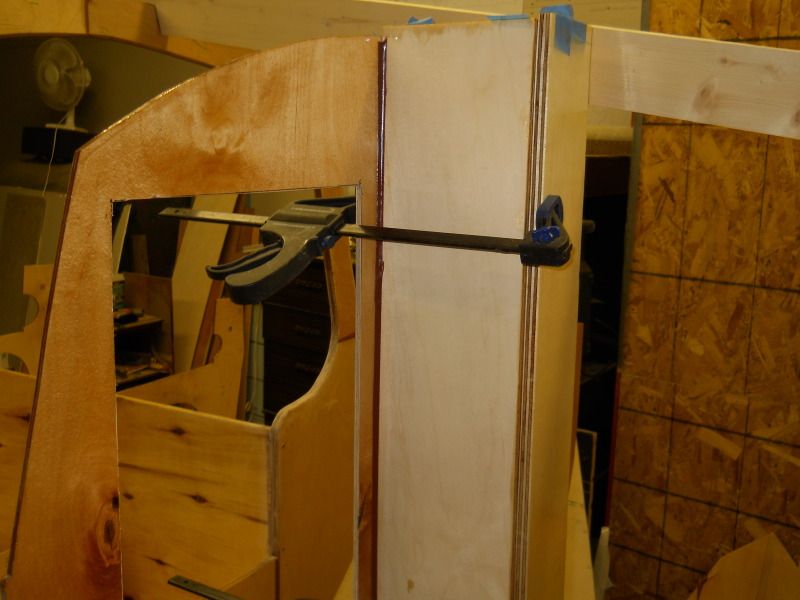


This is holding it in place while I fillet the inside.

-
Peter E
- Major Contributor
- Posts: 375
- Joined: Fri Jun 24, 2011 1:17 pm
- Location: USA Midwest Wis.
Re: Build of Hull 52
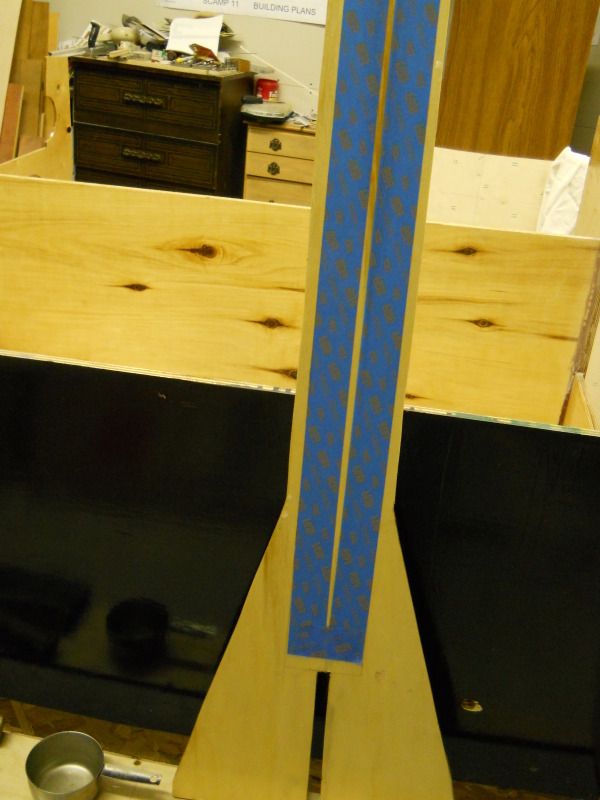
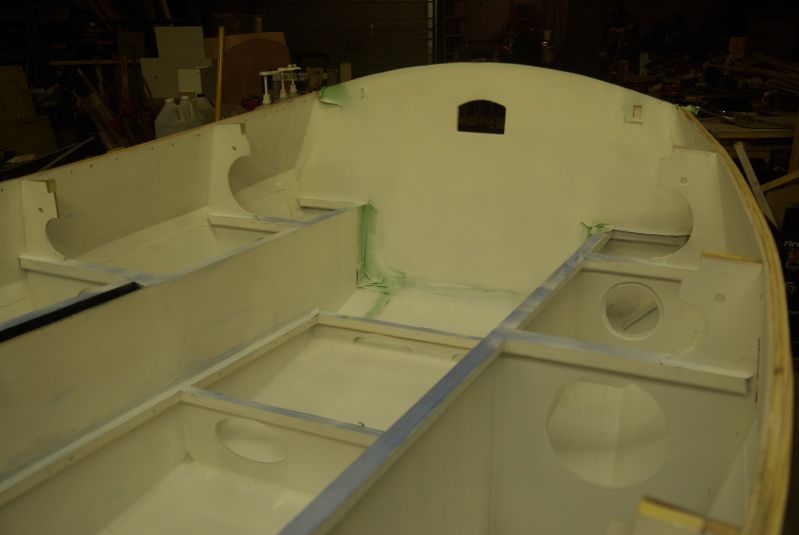
I used fiber glass tape on the outside of the mast trunk. Green painters tape was used to hold it in place.


-
Peter E
- Major Contributor
- Posts: 375
- Joined: Fri Jun 24, 2011 1:17 pm
- Location: USA Midwest Wis.
Re: Build of Hull 52
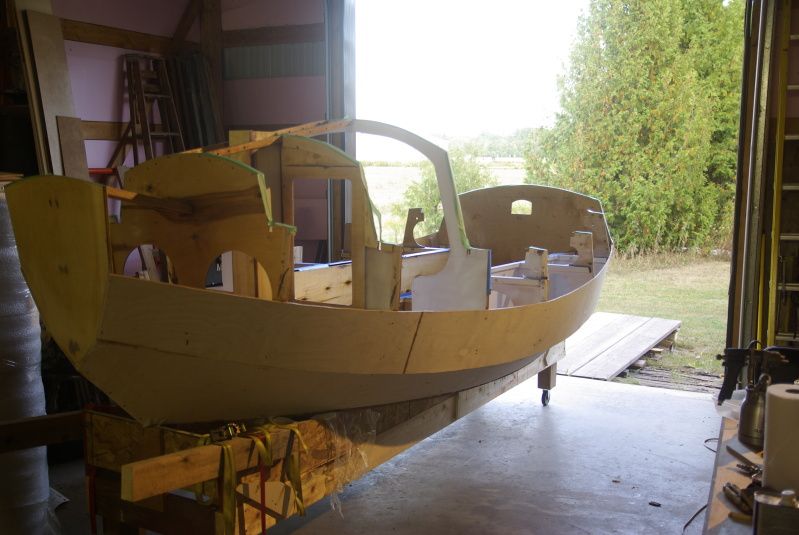
After the bulkheads were aligned and secured It was time to install the gar board plank. It has been said the difference between experienced boat builders and beginners is their knowledge on how to clamp things. I used a few two by fours tacked on the building frame helped so I could wedge the plank in to position. I picked that idea from some other builder.


-
Peter E
- Major Contributor
- Posts: 375
- Joined: Fri Jun 24, 2011 1:17 pm
- Location: USA Midwest Wis.
Re: Build of Hull 52
Next was the second plank. I don't have any pictures of fiberglass taping of the gar board to the bottom or the second plank to the gar board plank. I eventually taped all three planks on the inside. Also not shown is the tapering of the planks where they are joined together. This where a power planer came in handy. It could have been done with a hand plane or even done before the plank was put on. If my memory serves me I did some with the hand plane.

After the first planks were fastened and secured it was time to do some painting on the inside when it would be easy to reach. This is some thing I picked up from Mike Monies build.
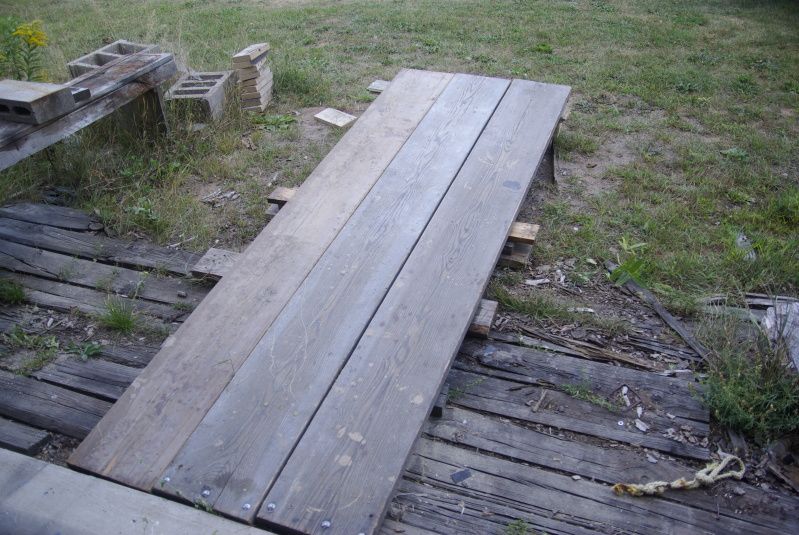
I had to build a ramp on the outside of the workshop door. Some day when I win that lottery I will have a concrete slab there. Until then a ramp. I don't want to paint in the work shop. I am using up some nasty paint that I had from another job and with a spray gun. One of those high volume low pressure ones. This was the first time using that kind, so there is a learning curve with adjustments etc.

-
Peter E
- Major Contributor
- Posts: 375
- Joined: Fri Jun 24, 2011 1:17 pm
- Location: USA Midwest Wis.
Re: Build of Hull 52
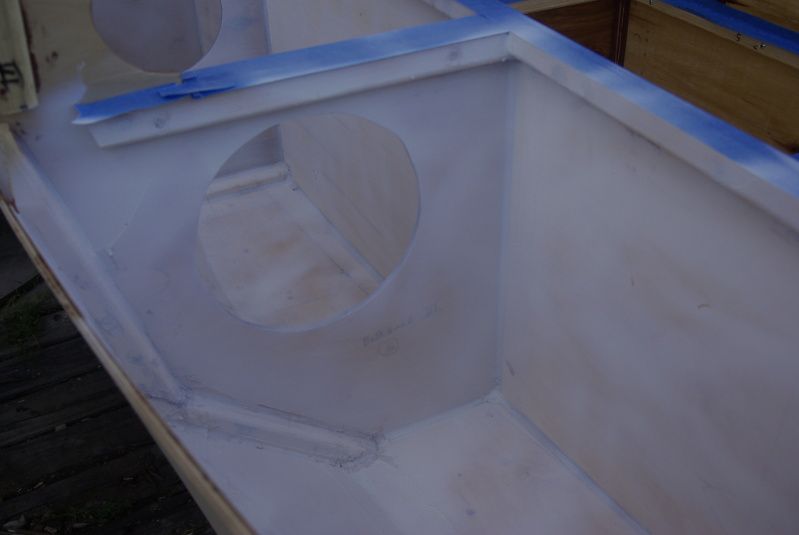
Areas that don't get paint are taped off. This is after one light coat When spraying many light coats are better than one heavy coat. There also is less chance of runs. Certain places also had paint brushed on for better coverage.


-
Peter E
- Major Contributor
- Posts: 375
- Joined: Fri Jun 24, 2011 1:17 pm
- Location: USA Midwest Wis.
Re: Build of Hull 52
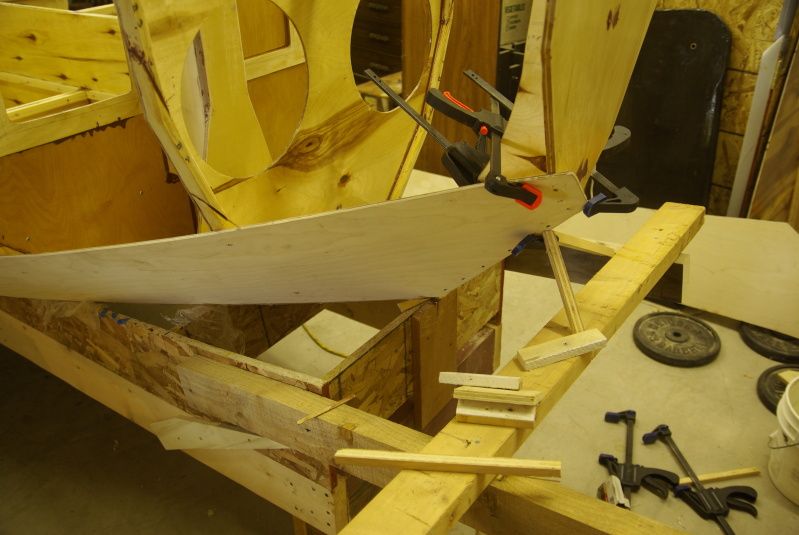
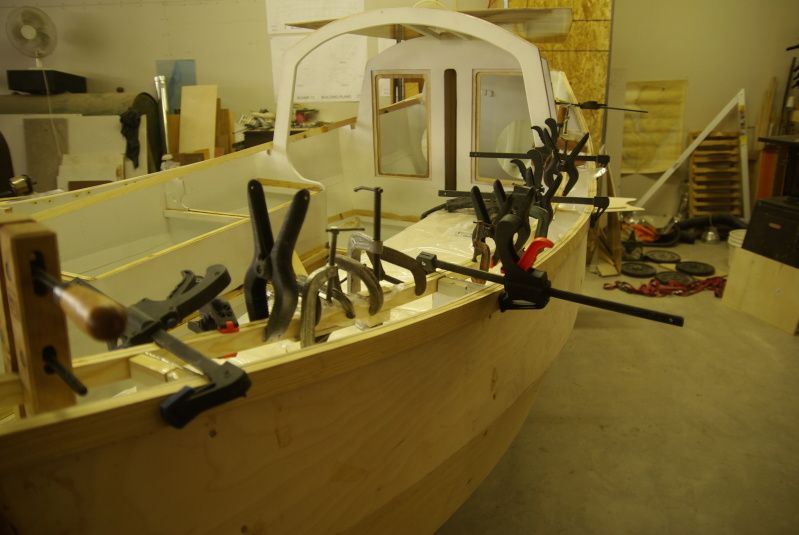
After painting several coats in the hard to get places it was time to put on the third or whiskey plank. This took strap clamps, screws etc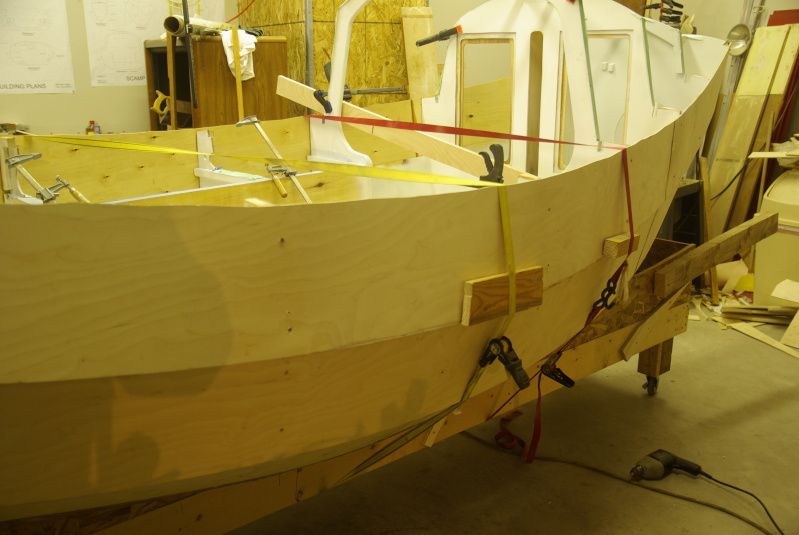
Use any means necessary to push pull the plank into place. One thing I found useful during the build was wedges that I got from a building supply store. You can make your own too.

Use any means necessary to push pull the plank into place. One thing I found useful during the build was wedges that I got from a building supply store. You can make your own too.


-
Peter E
- Major Contributor
- Posts: 375
- Joined: Fri Jun 24, 2011 1:17 pm
- Location: USA Midwest Wis.
Re: Build of Hull 52
After the whiskey plank more painting on the inside.
Next the in wales and gun wales. Here is where you can't have enough clamps. I didn't have long enough wood for the full length. I used pine for the wales. I got the clearest quarter sawen I could find. There was some rift sawen also. Stay a way from flat sawen for this job. It is to easy to have cracked wood. I sawed the wood so each wale was in two pieces and glued together with exterior wood glue. I could use butt joints and stagger them. This worked out well. The other methods using full size stock you would have to stream or wet the wood because you have a bend two ways up and in at the same time.


Next the in wales and gun wales. Here is where you can't have enough clamps. I didn't have long enough wood for the full length. I used pine for the wales. I got the clearest quarter sawen I could find. There was some rift sawen also. Stay a way from flat sawen for this job. It is to easy to have cracked wood. I sawed the wood so each wale was in two pieces and glued together with exterior wood glue. I could use butt joints and stagger them. This worked out well. The other methods using full size stock you would have to stream or wet the wood because you have a bend two ways up and in at the same time.

